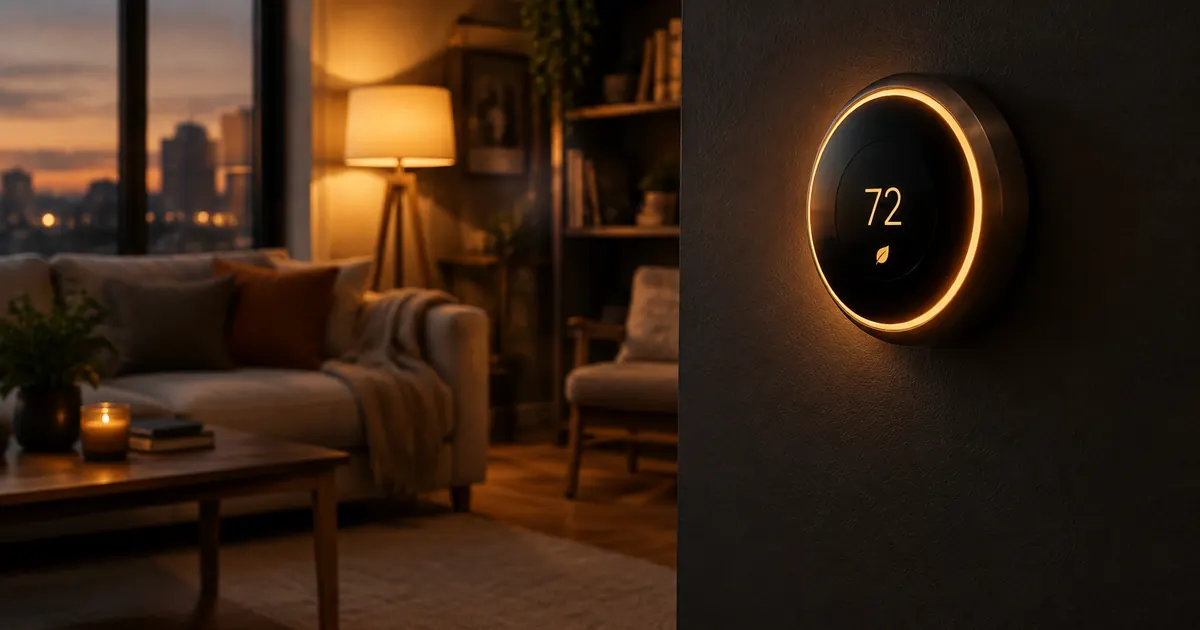
A smart thermostat is the highest-ROI device in home automation. While a smart bulb saves pennies, a thermostat that trims heating and cooling by 10–15% saves real money — often $130+ a year per the EPA's Energy Star estimates. But installation is where smart thermostats differ from every other smart device: this one wires into your HVAC system.
Here's how to check compatibility before you buy, and how to install it in under an hour.
Step 1: Check Your System Type
Smart thermostats work with the vast majority of forced-air systems — furnaces, central air, and heat pumps. Before ordering, confirm:
- System type: furnace, heat pump, or electric baseboard. Electric baseboard systems use high-voltage wiring (240V) and need a thermostat specifically rated for them — like our baseboard model. Standard low-voltage thermostats will not work and can be damaged.
- Voltage: standard systems are 24V. If your current thermostat wires come from thick cables connected to conduit, stop and consult an electrician.
Step 2: Photograph Your Wires
Kill the breaker for your HVAC system, pull the old thermostat off its wall plate, and photograph the wiring. You'll see between two and eight colored wires connected to labeled terminals.
The C-wire question
The C-wire ("common") supplies continuous power — the thing a Wi-Fi thermostat needs to stay online. Many homes from the last 30 years have one; older homes may not. If you see a wire on the terminal labeled "C," you're set. If not, most modern thermostats can work without one using power-sharing tricks, but performance is better with a real C-wire. Some models include a small adapter for C-wire-less homes.
Step 3: Match Terminals, Not Colors
Wire colors are conventions, not guarantees — previous owners sometimes rewire things. Trust the terminal labels, not the colors:
- R or Rh/Rc: power (usually red)
- W: heat
- Y: cooling
- G: fan
- C: common/neutral
- O/B: heat pump reversing valve
Our smart thermostats include an in-app guide that asks what terminal each wire connects to and configures itself accordingly — no manual configuration of stages or heat pump types.
Step 4: Install and Configure
With the breaker off, swap the wall plate, connect the wires to the matching terminals, and snap the thermostat on. Restore power and follow the app setup:
- Connect the thermostat to your 2.4GHz Wi-Fi network
- Link it to Alexa or Google Home for voice control
- Set your temperature schedule — or let a self-programming model learn your routine for a week and build one automatically
Getting the Savings You Were Promised
The device alone doesn't save money; the habits do. Three settings matter most:
- Automatic setbacks: 7–10°F cooler in winter (or warmer in summer) during work hours. This is where the bulk of the savings live.
- Eco/away mode: uses geofencing to relax the temperature when everyone's out.
- Reasonable setpoints: each degree of heating or cooling setback for 8 hours saves roughly 1% of your energy bill.
When to Call a Pro
Call an HVAC technician if: your system is high-voltage, you have fewer than two wires and no C-wire plus no adapter, you have a multi-stage system the thermostat doesn't list as compatible, or anything about the wiring looks unusual (burn marks, unlabeled bundles). An hour of professional time is cheaper than a damaged control board.
Heat Pumps: The Special Case
Heat pumps heat and cool from the same compressor, and they need thermostats that understand the O/B reversing valve. If your old thermostat has an O or B terminal in use, you have a heat pump — and you should confirm any thermostat you buy lists heat pump support explicitly. All of the models in our thermostat collection do, but it's the single most common compatibility miss in the category.
Heat pumps also behave differently day to day: they run longer, gentler cycles instead of blasting hot air. New owners sometimes mistake this efficiency for a fault and crank the emergency heat setting — which costs two to three times more to run. Give the system a week to feel normal before touching auxiliary heat.
Multi-Stage Systems
If your wiring includes Y2 (second-stage cooling) or W2 (second-stage heat), you have a multi-stage system. These are common in larger homes. Most modern smart thermostats support up to three stages, but the app setup must know — that's why the wire-by-terminal photo from Step 2 matters. Configure stages during setup, not after, or you'll wonder why the house never quite reaches temperature.
Placement and Sensors
A thermostat reads the temperature where it hangs. If it's in a hallway that's always cooler than the rooms you live in, your comfort settings will always feel slightly off. Two fixes:
- Remote sensors: several models support wireless sensors you place in bedrooms or offices, averaging temperature where it matters
- Smart scheduling: instead of chasing a perfect number, schedule around your life — warm-up before wake-up, setback during work hours
The First Week: Let It Learn
Self-programming models need about a week of normal life to build an accurate model of your household. During that week:
- Adjust temperatures as you normally would — the learning algorithm watches your corrections
- Don't fight the schedule mid-learn; make one correction per discomfort, not five
- After a week, review the proposed schedule and lock it in
After that, most owners stop touching the thermostat entirely — which is exactly the point. The device pays for itself precisely when you forget it's there.
The Bottom Line
If you have standard low-voltage HVAC and a screwdriver, installing a smart thermostat is a 30-minute project with a payoff measured in hundreds of dollars per year. Check your system type, photograph your wires, and pick a model that matches — our full thermostat collection covers standard systems, heat pumps, and electric baseboards, all with free US shipping.